

Quick answer
A virtual assistant’s first 30 days go better with prepared access and context, a goal-led first week, supervised practice with written steps, specific feedback on early work and one task handed over at a time as quality becomes consistent. Finish with a day-30 review of what worked and what to change.
- Give only the access each task needs, write down what a good first month looks like and decide who supervises.
- Hold a short daily or twice-weekly check-in, and ask the assistant to improve written steps as they learn.
- Agree what the assistant may decide, what needs approval and what to escalate before expanding ownership.
The first weeks decide whether a new virtual assistant becomes reliable. Clear context, safe access and regular feedback matter more than throwing tasks at them. This plan is for first-time staffing clients and can be adapted by role.
It is a template, not a promise of speed. Real timing depends on the work and the person. See before you hire a virtual assistant and how to delegate to a virtual assistant.
Step 1: prepare access and context
Before day one, prepare what the person needs: accounts with only the access required, a short guide to your business, your customers and tone, a list of tools and who to ask. See a role-based access checklist. Decide who supervises and how often you will meet. Write down what a good first month looks like.
Step 2: the first week
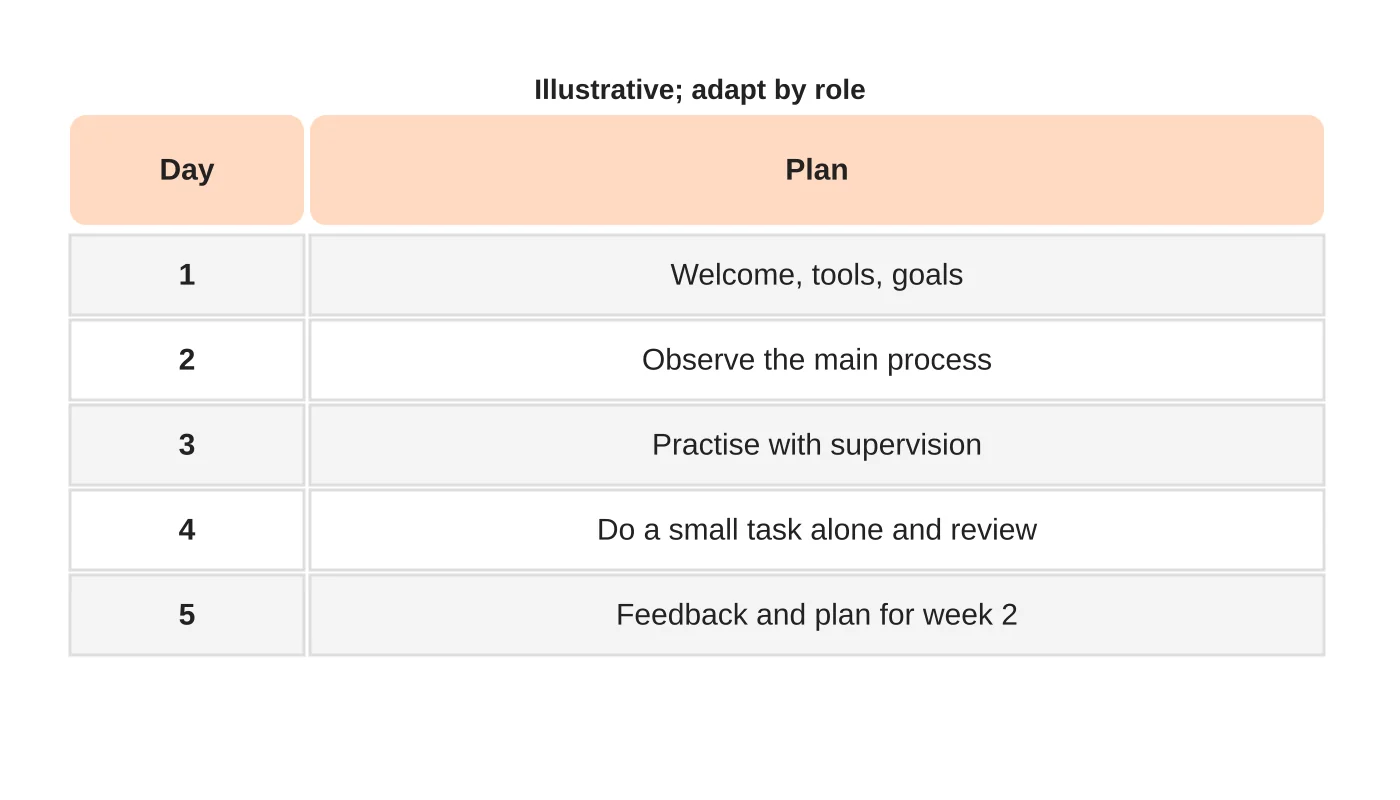
Start with goals and tools, then observation, then supervised practice and a small independent task with review by the end of the week. Share example work that you consider good. Explain how to ask questions and how fast you reply. Keep the first tasks low-risk.
Related reading: What to Delegate to an Administrative Virtual Assistant in Your First Month.
Step 3: shadow and practise
In weeks one and two, the assistant watches or follows the process, then does it with you checking. Use written steps wherever possible, and ask the assistant to improve them as they learn. See how to write SOPs for a virtual assistant. Hold a short daily or twice-weekly check-in.
Step 4: review supervised outputs
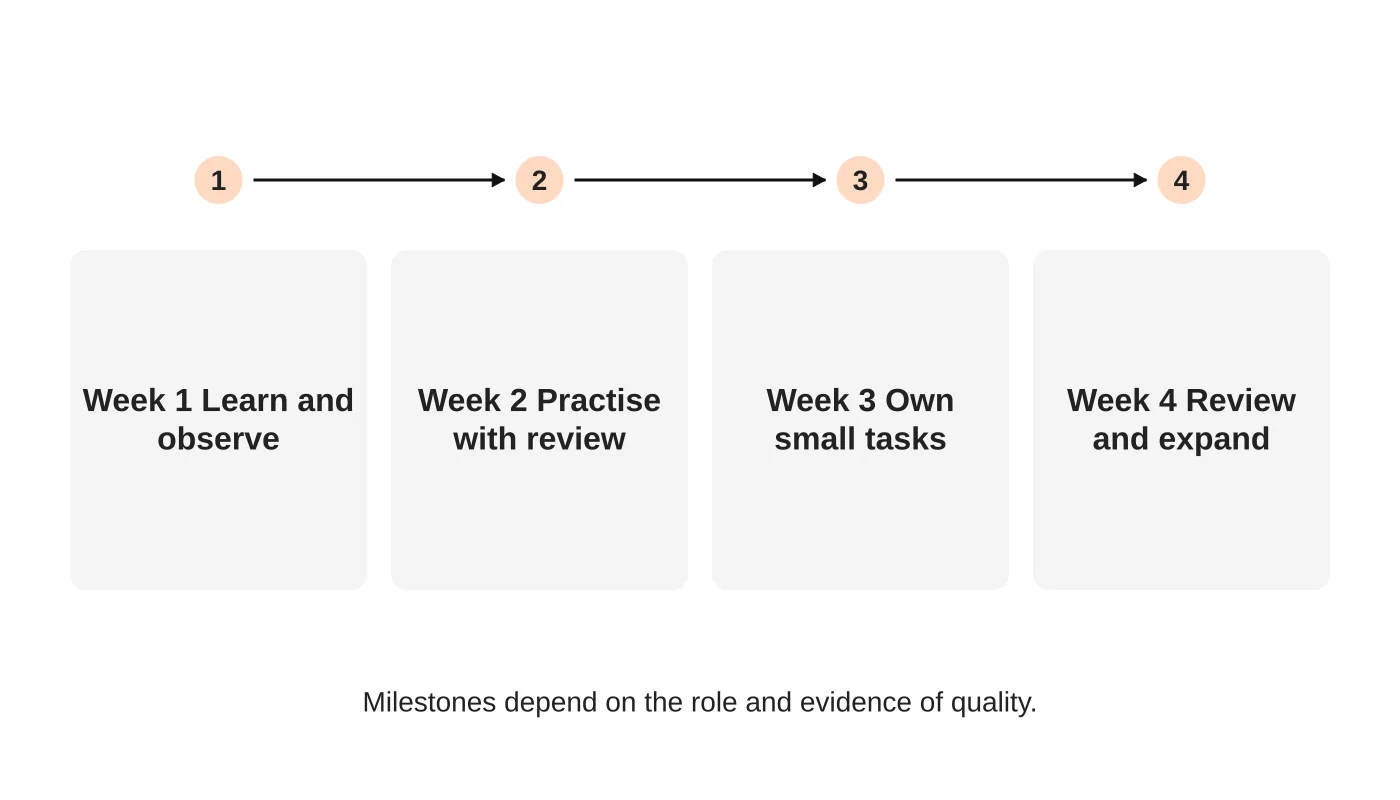
Review early work against clear quality criteria. Give specific feedback, not general remarks. Note recurring errors and fix the instructions behind them. Track what was done independently and what needed correction. Decide whether the person is ready for more.
Step 5: expand ownership based on evidence
Hand over tasks one at a time when quality is consistent. Increase access only as needed. Agree what the assistant may decide, what needs approval and what to escalate. See client communication and escalation.
Step 6: run a day-30 review
Review what worked, what did not and what to change in the next 30 days. Agree measures; see a KPI scorecard. Ask the assistant for feedback about your instructions and process.
Adapting by role
A customer-support assistant needs approved replies and escalation rules early. A marketing assistant needs brand guidance and approval steps. An administrative assistant needs calendar and inbox boundaries. Adjust the plan accordingly.
Frequently asked questions
How much supervision is normal?
More at first, less as quality is shown.
Should I give full access on day one?
No. Give what is needed for each task.
What if the first month goes badly?
Review the instructions and fit honestly, and decide on changes early.
Who should lead onboarding?
The person who will supervise day to day.
Sources
Plan your first month
Web Design Davao’s outsourced staffing team can discuss onboarding for your new team member. Get in touch.